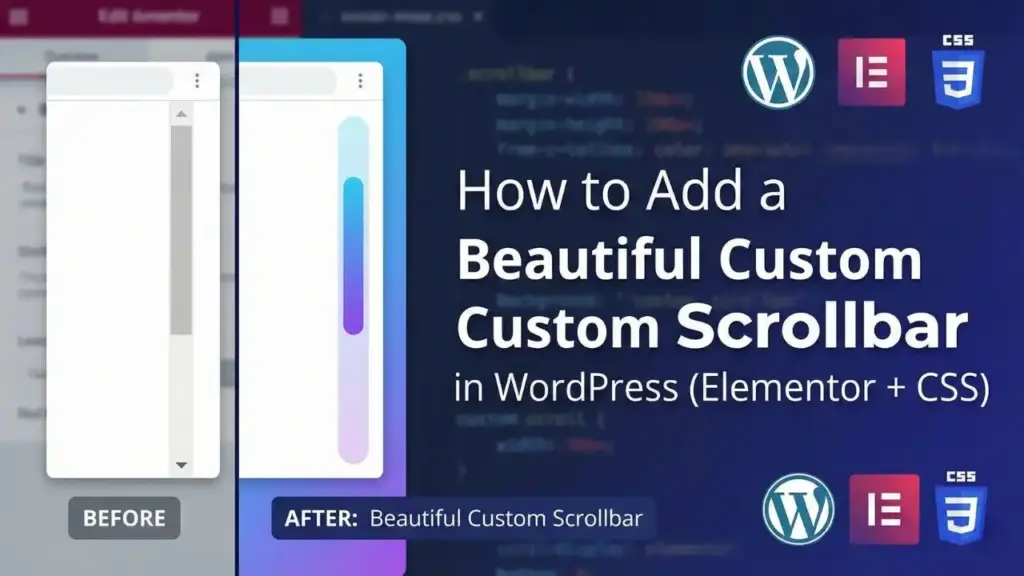
If you want your website to look more premium, a custom scrollbar is a small detail that makes a big difference. In this tutorial, you’ll add a modern scrollbar style using a short CSS snippet—perfect for Elementor users.
What this custom scrollbar does
- Changes the scrollbar width
- Adds a clean track background color
- Adds a gradient scrollbar thumb with rounded corners
Important note (don’t skip)
This scrollbar styling works mainly in Chrome, Edge, Brave, Opera (WebKit-based browsers). Firefox uses a different scrollbar system, so this exact code won’t fully apply there.
Step 1: Add the CSS in Elementor
Pick ONE of these ways:
Option A (Recommended): Elementor → Site Settings
- Go to Elementor → Site Settings
- Open Custom CSS
- Paste the code below
- Click Update
Option B: WordPress Customizer
- Go to Appearance → Customize
- Open Additional CSS
- Paste the code
- Publish
Step 2: Paste this CSS code
::-webkit-scrollbar{
    width: 0.9vw;
    background: #777;
}
::-webkit-scrollbar-thumb{
    background: linear-gradient(transparent,#30ff00);
    border-radius: 20px;
}
Quick customization tips
- Scrollbar width: change
0.9vwto something like10pxif you want consistent size across screens. - Track color: change
#777to match your theme colors. - Thumb color: replace
#30ff00with your brand color. - Roundness: increase/decrease
border-radius.
Example (cleaner + more consistent):
::-webkit-scrollbar{ width: 10px; background: #777; }Common issues
- Not showing? Clear cache (plugin + browser) and hard refresh (Ctrl+F5 / Cmd+Shift+R).
- Only works in some browsers? That’s normal—Firefox needs different CSS.